Welcome to "BBQ and Grills Galore" - your go-to blog for all things BBQ and grilling! From mouthwatering recipes to expert tips and equipment guides, we've got you covered. Join us on this flavorful journey to become a true grill master! Happy grilling!
Grill Masterclass: How to Perfectly Grill Costco Ribs
Get link
Facebook
X
Pinterest
Email
Other Apps
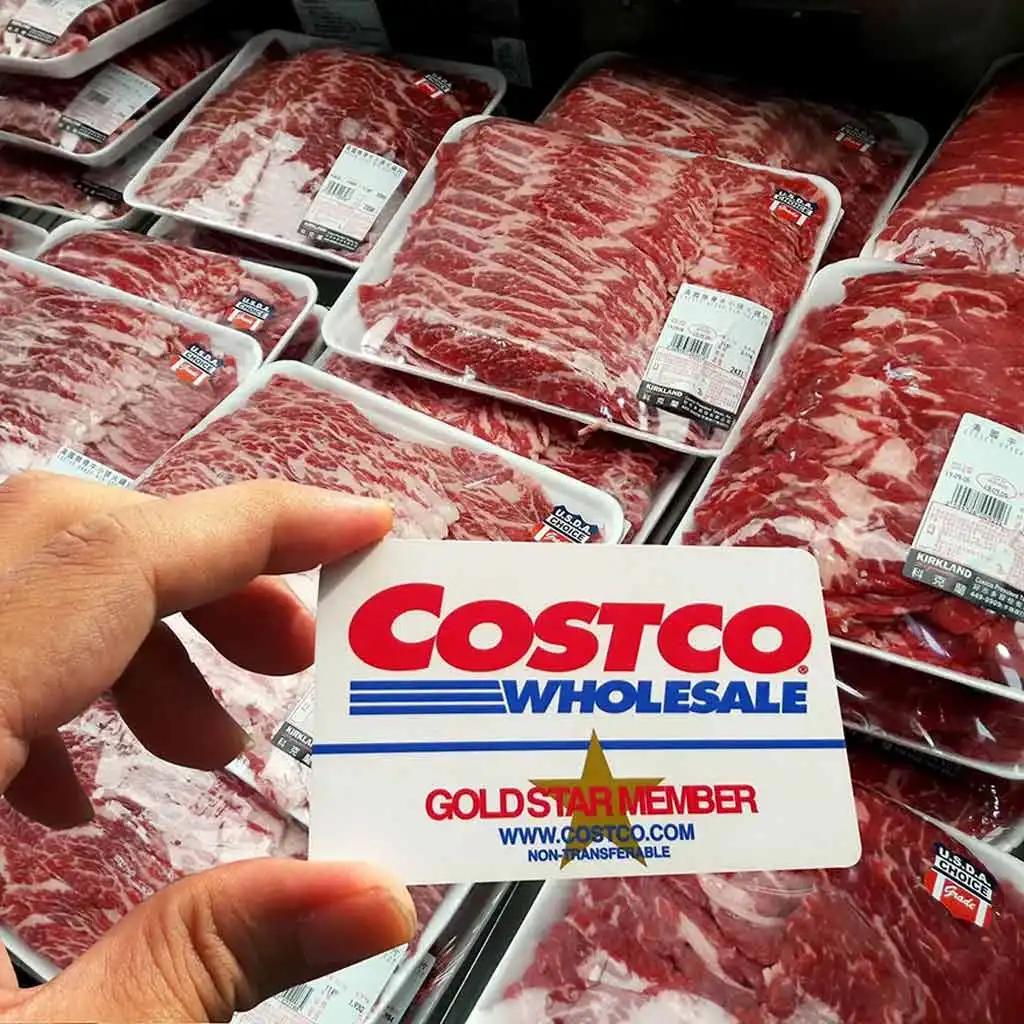
Step into the tantalizing world of Costco ribs, where the promise of a sizzling and succulent barbecue adventure awaits. Costco, the beloved warehouse giant, is renowned for delivering quality meats, and their ribs are no exception. These delectable cuts have become a favorite among grill enthusiasts for a multitude of reasons, making them a must-have for any backyard BBQ gathering.In this guide, we'll unravel the secrets to grilling Costco ribs to perfection. From selecting the right rack to mastering the grill, get ready to embark on a mouthwatering journey that celebrates the art of barbecue.Part 1: Selecting the Perfect Costco Ribs: A Grillmaster's GuideChoosing the right rack of ribs at Costco is the first step towards grilling greatness. While Costco offers a variety of rib options, understanding their unique characteristics will help you make an informed choice:1. Baby Back Ribs: These ribs are known for their tenderness and mild flavor. They are shorter and leaner compared to other cuts, making them an excellent choice for those who prefer less fatty meat. Look for racks with even meat distribution and minimal fat for the best results.2. St. Louis-Style Ribs: St. Louis-style ribs are meatier and have a rich, porky flavor. They come from the belly area of the pig and are characterized by their rectangular shape. Look for racks with uniform thickness and a good meat-to-fat ratio.3. Spare Ribs: Spare ribs are larger and more substantial. They have a higher fat content, which adds a delicious richness and flavor. When selecting spare ribs, aim for racks with meat that's well-marbled but not overly fatty.Pro Tip:Why Costco Ribs Are a Grillmaster's DreamUnbeatable Quality: Costco is synonymous with top-notch quality, and their ribs are no different. Whether you're eyeing baby back ribs, St. Louis-style, or spare ribs, you can trust that they meet the highest standards.Consistency: Grill masters appreciate the consistent quality of Costco ribs. You can count on each rack to deliver tender, meaty perfection every time.Generous Cuts: Costco is known for generous portion sizes, and their rib racks are no exception. They provide ample meat for feeding a hungry crowd.Versatility: Costco ribs are a canvas for culinary creativity. Whether you prefer classic BBQ, savory rubs, or experimenting with unique flavors, these ribs are up for the challenge.
Part 2: 3 Excellent Recipes to Grill Different Costco RibsRecipe 1. How to Grill Baby Back Ribs from CostcoIngredients:
1 rack of baby back ribs from Costco
1/4 cup brown sugar
2 tablespoons paprika
1 tablespoon garlic powder
1 tablespoon onion powder
1 tablespoon salt
1 teaspoon black pepper
Your favorite BBQ sauce
Instructions:Step 1: Remove the membrane from the back of the Costco ribs and pat them dry with paper towels.Step 2: In a bowl, mix the brown sugar, paprika, garlic powder, onion powder, salt, and black pepper to create a dry rub.Step 3: Rub the dry rub all over the ribs, ensuring even coverage. Let them sit for at least 30 minutes.Step 4: Preheat your grill to medium-low heat (around 300°F/150°C).Step 5: Grill the ribs over indirect heat for 1.5 to 2 hours, maintaining a consistent temperature. Add wood chips for extra smokiness if desired.Step 6: During the last 15 minutes of cooking, baste the ribs with your favorite BBQ sauce.Step 7:
Recipe 2. How to Grill St. Louis-Style Ribs from CostcoIngredients:
1 rack of Costco St. Louis-style ribs
1/4 cup yellow mustard
1/4 cup BBQ rub
Your favorite BBQ sauce
Instructions:Step 1: Remove the membrane from the back of the ribs and spread a thin layer of yellow mustard over both sides.Step 2: Sprinkle the BBQ rub evenly over the mustard-coated ribs, pressing it into the meat.Step 3: Preheat your grill to 225°F (107°C) for indirect grilling.Step 4: Place the Costco ribs on the grill, bone side down, and cook for 3-4 hours, maintaining a steady temperature.Step 5: During the last hour of cooking, baste the ribs with your preferred BBQ sauce.Step 6: Check for doneness by poking a toothpick between the ribs; it should slide in easily when done.Step 7:
Recipe 3. How to Grill Spare Ribs from CostcoIngredients:
1 rack of Costco spare ribs
1/4 cup dry rub seasoning
1/4 cup apple juice
Your favorite BBQ sauce
Instructions:Step 1: Remove the membrane from the back of the ribs and apply the dry rub seasoning evenly on both sides.Step 2: Preheat your grill to 250°F (121°C) for indirect grilling.Step 3: Place the ribs on the grill, bone side down, and cook for 4-5 hours, adding apple juice to a spray bottle to spritz the ribs every hour.Step 4: During the last 30 minutes of cooking, brush the ribs with BBQ sauce and continue grilling.Step 5: Check for doneness by bending the ribs; they should slightly crack but not break.Step 6:
Part 3: Grilling Techniques for Perfect Costco RibsGrilling Costco ribs to perfection requires a combination of temperature control, heat placement, and smoking techniques. Follow these step-by-step instructions for mouthwatering results:1. Preparing the Grill:Preheat your grill to the desired temperature based on the type of ribs you're cooking:
Baby Back Ribs: 300°F (150°C)
St. Louis Ribs: 225°F (107°C)
Spare Ribs: 250°F (121°C)
2. Indirect vs. Direct Heat:For indirect grilling, light only one side of the grill's burners or place the charcoal on one side. This creates a cooler side for the ribs to cook slowly without direct flame exposure.For direct grilling, place the ribs directly over the flame or charcoal for a searing effect. Use this technique to finish cooking and add a charred crust.3. Smoking Techniques:Use wood chips or chunks to infuse smoky flavor into your ribs. Soak wood chips for 30 minutes before grilling and place them on the grill's heat source for indirect heat smoking.For stronger smoke flavor, use hardwoods like hickory or mesquite. For milder flavors, opt for fruitwoods like apple or cherry.4. Temperature Control:Invest in a reliable meat thermometer to monitor the internal temperature of the ribs. Insert the thermometer probe into the thickest part of the meat without touching the bone.For baby back ribs, aim for an internal temperature of 180-185°F (82-85°C).For St. Louis and spare ribs, aim for an internal temperature of 195-203°F (90-95°C) for tender results.5. Basting and Saucing:Baste the ribs with marinade or sauce during the last 15-30 minutes of grilling to add flavor and create a glossy finish. If using a sugary sauce, apply it towards the end to prevent burning.6. Resting and Serving:Once the ribs reach the desired internal temperature, remove them from the grill and let them rest for 10-15 minutes. This allows the juices to redistribute for tender, juicy meat.Slice the ribs between the bones and serve them with your favorite sides and sauces.
Part 4: 10 Tips for Grill Mastery with Costco RibsAchieving grilling excellence with Costco ribs requires attention to detail and a dash of culinary finesse. Here are some additional tips and tricks to help you become a true grill master:1. Season Generously: Don't be shy with your dry rub or marinade. Ribs can handle robust flavors, so season them generously for a flavorful bite.2. Let Them Marinate: Allow the ribs to marinate in the refrigerator for at least 4 hours, or overnight if possible. This imparts deep flavor into the meat.3. Maintain Consistent Temperature: Invest in a quality grill thermometer to ensure your grill maintains a steady temperature. Fluctuations can affect cooking times and results.4. Use a Drip Pan: Placing a drip pan under the ribs prevents flare-ups and makes cleanup easier. You can also add some water or apple juice to the drip pan for added moisture.5. The 3-2-1 Method: For St. Louis or spare ribs, consider the "3-2-1" method. Smoke for 3 hours, wrap in foil with some liquid (like apple juice) for 2 hours, then unwrap and grill for the final 1 hour to develop a perfect bark.6. The Bend Test: To check for doneness without a thermometer, use the bend test. Pick up the ribs with tongs; if they bend and almost break apart, they're done.7. Rest and Slice: Always let your ribs rest after grilling. This allows the juices to redistribute, resulting in tender, juicy meat. Use a sharp knife to slice between the bones for beautiful, meaty portions.8. Experiment with Wood Chips: Different wood chips impart varying flavors. Try experimenting with wood like pecan, cherry, or oak to discover unique taste profiles.9. Keep a Spray Bottle Handy: Use a spray bottle filled with apple juice or a 50/50 mix of apple cider vinegar and water to keep the ribs moist and add flavor during cooking.10. Practice Makes Perfect: Grilling ribs is an art that improves with practice. Don't be discouraged by minor setbacks; each cook helps you refine your technique.ConclusionGrilling Costco ribs is a culinary journey filled with flavor and satisfaction. Remember these essentials: choose quality Costco ribs, season generously, master temperature control, and embrace experimentation. Whether you prefer baby back, St. Louis, or spare ribs, each rack is an opportunity for barbecue excellence. Fire up the grill, savor the smoky aroma, and share the joy of a mouthwatering barbecue with loved ones. With every sizzle and bite, you'll create cherished memories and become the grill master of your backyard. So, roll up your sleeves and embark on a Costco ribs grilling adventure—you won't be disappointed!FAQsWhat's the difference between baby back, St. Louis, and spare ribs?Baby back ribs are smaller, leaner, and come from the loin section of the pig. St. Louis ribs are meatier and come from the belly area. Spare ribs are larger and have more fat.How long should I marinate the ribs before grilling?Marinating for at least 4 hours in the refrigerator allows the flavors to penetrate the meat. Overnight marinating is even better for a deeper flavor.What's the best way to reheat leftover ribs?To reheat, wrap the ribs in foil and warm them in the oven at 250°F (121°C) for about 20-30 minutes or until heated through.
As the final embers of a delightful grilling session fade into the twilight, a ritual of equal importance beckons – the proper shutdown of your trusted Traeger grill. Beyond the delectable flavors and aromatic indulgence, the act of bidding adieu to your grill holds paramount significance for safety, maintenance, and the longevity of your prized culinary companion.Just as a chef values precision, your Traeger grill demands a meticulous shutdown to ensure safety. A thorough shutdown extinguishes any lingering flames and minimizes the risk of potential flare-ups, ensuring your cooking area remains hazard-free.Part 1: How to Properly Shut Down Your Traeger GrillStep 1: Turn Off the ControllerYour grill's controller boasts a power button, often adorned with a recognizable icon. It's your gateway to control. Gently press the power button and hold it down. This initiates the shutdown sequence, signaling the controller that it's time to bid adieu. Depending on your Traeger model, ...
Outdoor cooking has become increasingly popular and having the right equipment can greatly enhance the experience. One such essential equipment is a fire magic side burner. In this article, we will explore the benefits of having a fire magic side burner for outdoor cooking and provide an overview of its features and functionalities. We will also discuss how to choose the right side burner, installation and maintenance tips, creative recipes, customer reviews, and conclude with a recommendation for readers.Part 1: What is a Fire Magic Side Burner?A fire magic side burner is a high-quality outdoor cooking appliance that provides an additional cooking surface alongside your grill. It is typically built into an outdoor kitchen setup and offers various features and functionalities to enhance your cooking experience. These side burners are designed to withstand the elements and provide consistent heat for versatile cooking options.Fire magic side burners come in different types and models, i...
Burner hoses and regulators play a crucial role in various applications that involve the use of fuel-powered burners. Whether it's for cooking, heating, or industrial processes, these components ensure the safe and efficient flow of fuel to the burner. In this article, we will explore the importance of burner hoses and regulators, discuss the different types available, delve into the factors to consider when choosing them, highlight the benefits of using high-quality components, and provide guidance on their proper maintenance and care.Part 1: What is a Burner Hose and Regulator?A burner hose is a flexible tube that connects the fuel source, such as a propane tank or natural gas line, to the burner. It is responsible for delivering the fuel to the burner, allowing for a controlled and steady flow. The regulator, on the other hand, is a device that controls the pressure of the fuel as it flows through the hose. It ensures that the fuel is delivered at the correct pressure, which is ...


Comments
Post a Comment