Welcome to "BBQ and Grills Galore" - your go-to blog for all things BBQ and grilling! From mouthwatering recipes to expert tips and equipment guides, we've got you covered. Join us on this flavorful journey to become a true grill master! Happy grilling!
Mastering the Grill: How Often to Flip Ribs for Perfect BBQ
Get link
Facebook
X
Pinterest
Email
Other Apps
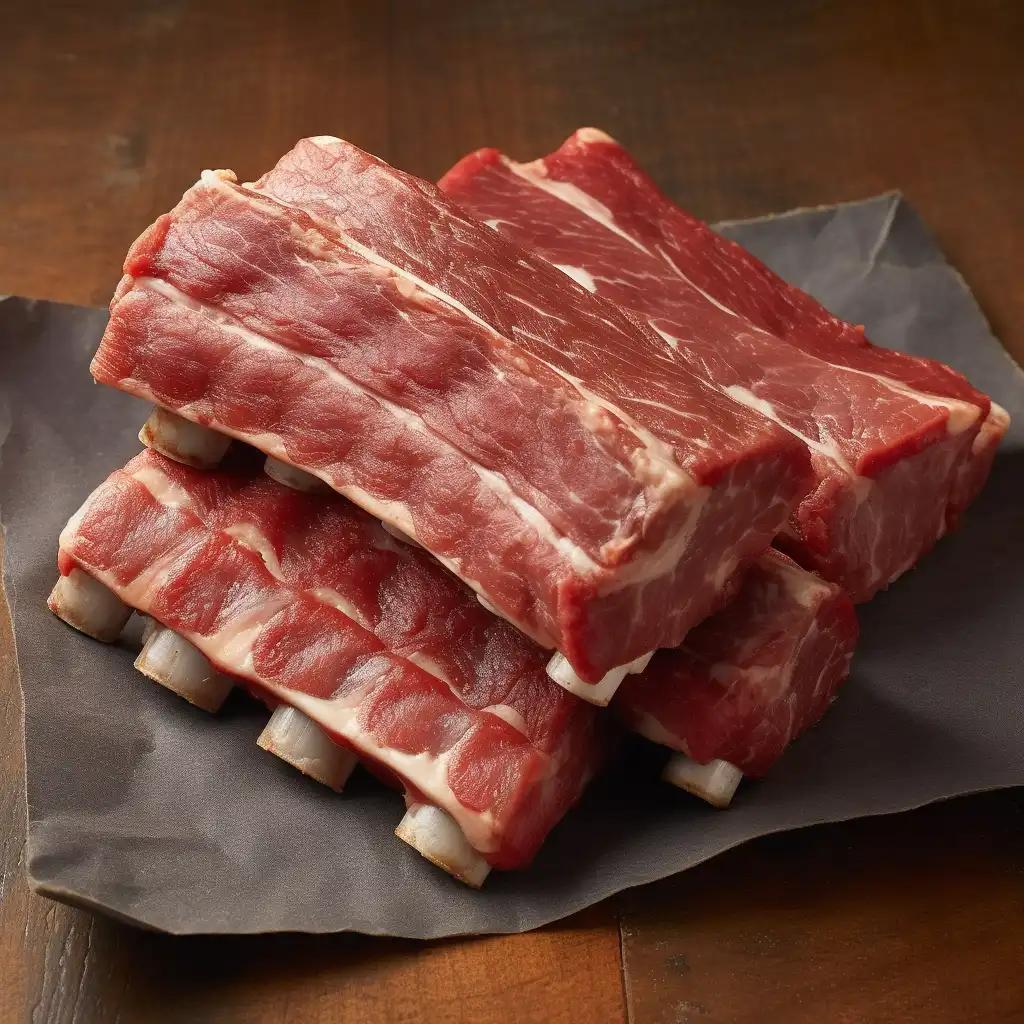
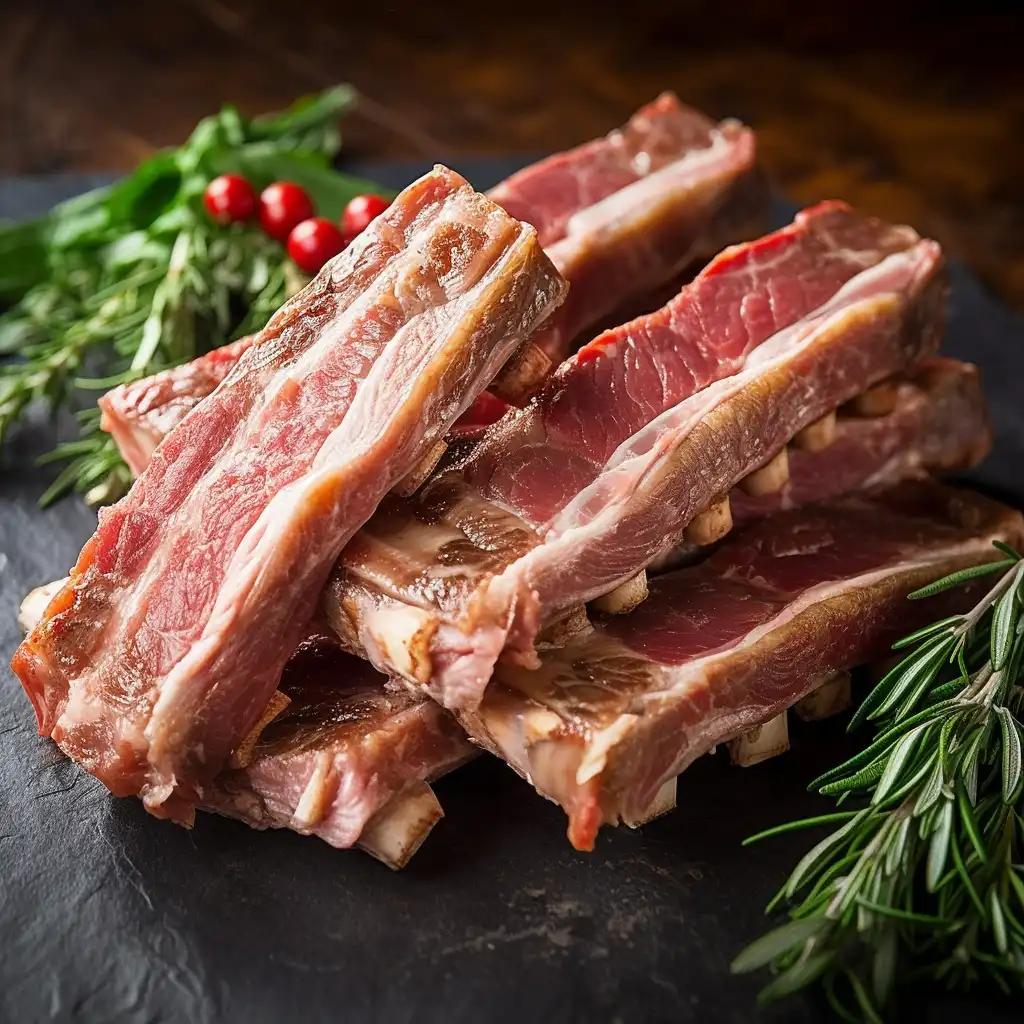
Flipping ribs on the grill is an essential art in the world of barbecue, one that holds the promise of delivering that mouthwatering, perfectly grilled bite. It's a technique that balances the searing of flavors and the tenderness of meat. In this article, we delve into the crucial role of flip frequency and share expert insights to help you achieve BBQ excellence. Get ready to savor ribs that are charred to perfection, seasoned just right, and sure to leave your taste buds craving for more.Part 1: Why Flipping Matters for Barbecue GrillingFlipping ribs on the grill is more than just a routine action; it's a crucial step in ensuring that your ribs are cooked evenly and bursting with flavor. Here's why flipping matters:Even Cooking: Flipping allows both sides of the ribs to have equal exposure to the grill's heat source. This helps prevent uneven cooking, ensuring that every inch of your ribs is tender and juicy.Flavor Development: Flipping isn't just about preventing burning; it's also about creating that delightful crust and smoky flavor. Each time you flip, you're adding layers of delicious char and caramelization that make grilled ribs irresistible.Common Misconceptions: One common misconception is that ribs should only be flipped once. In reality, flipping them multiple times can yield excellent results, especially when using indirect heat. Another myth is that frequent flipping dries out the meat. In fact, flipping every 5-10 minutes can help lock in juices and enhance the overall taste.Part 2: How Choosing the Right Rib Cuts Affect Flip FrequencyWhen it comes to grilling ribs, the choice of rib cut plays a significant role in determining flip frequency and overall cooking technique. Let's explore the differences between baby back, St. Louis, and spare ribs, and how these cuts affect flip frequency:1. Baby Back Ribs: These ribs come from the upper part of the pig's ribcage and are known for their tenderness and leaner meat. Due to their size and composition, baby back ribs benefit from more frequent flipping, about every 5-10 minutes. This helps distribute heat evenly across their smaller surface area, ensuring they cook consistently.
2. St. Louis Ribs: St. Louis ribs are meatier and have a bit more fat content than baby back ribs. Their larger size allows for slightly less frequent flipping, around every 15-20 minutes. This lets them develop a beautiful crust without over-flipping.
3. Spare Ribs: Spare ribs are the meatiest but also have more fat. They can be cooked using the same flip frequency as St. Louis ribs. However, some grillers prefer to flip them every 10-15 minutes to manage the rendering fat effectively.
Part 3: The Flipping Frequency Guide for Grilling RibsJust learn more from the flipping frequency guide and these expert tips will help you achieve that perfect sear and smoky flavor in your grilled ribs, regardless of the cut or type of grill you're using.
Unknown block type "tables", please specify a serializer for it in the `serializers.types` prop
General Tips for Searing and Flavor Enhancement:
Maintain a clean grill grate to prevent sticking and ensure beautiful grill marks.
Use tongs to handle ribs; avoid piercing with forks, as this can release precious juices.
Apply sauces or marinades during the last 15-30 minutes of grilling to avoid burning.
Invest in a reliable meat thermometer to monitor doneness without excessive flipping.
Experiment with different wood chips or chunks for unique smoke flavors.
Don't forget to let the ribs rest for 10-15 minutes before slicing and serving, allowing juices to redistribute for maximum flavor and tenderness.
Part 4: Expert Grilling Techniques for Flipping Rib BBQ PerfectionFor those aspiring to reach the pinnacle of barbecue excellence, here are some advanced grilling techniques to elevate your rib game:1. 2-Zone Grilling: Master the art of creating two heat zones on your grill—a direct heat zone for searing and an indirect heat zone for slow cooking. This technique allows you to sear ribs to perfection and then finish them with gentle, indirect heat for that melt-in-your-mouth tenderness.2. The Minion Method: If you're using charcoal, consider the Minion Method. Arrange unlit charcoal around a small amount of lit charcoal. This ensures a slow, consistent burn for hours, perfect for low and slow rib cooking.3. Reverse Searing: Begin by slow-cooking your ribs at a low temperature (around 225°F) until they reach the desired internal temperature. Then, finish them with a quick sear over high heat. This method results in a tender interior and a flavorful crust.4. Smoke Baths: Elevate your smoke game by experimenting with smoke baths. Place a heatproof container filled with aromatic ingredients (herbs, spices, citrus) directly on the coals or burners. The smoke produced will infuse unique flavors into your ribs.5. Pellet Tubes and Boxes: Enhance smokiness by using pellet tubes or boxes. These accessories generate consistent smoke throughout the grilling process, allowing you to control the intensity of the smoke flavor.6. Temperature Control Devices: Invest in temperature control devices, like pit controllers, to maintain a precise cooking temperature. This hands-off approach ensures your ribs are consistently cooked to perfection.Part 5: Common Mistakes to Avoid When Flipping Ribs on A GrillWhile flipping ribs on the grill is essential for even cooking and flavor development, it's equally important to avoid common mistakes that can affect the outcome of your barbecue masterpiece:1. Flipping Too Often: One of the most frequent mistakes is flipping ribs too frequently. Excessive flipping can lead to temperature fluctuations and hinder the development of a beautiful crust. Instead, follow the recommended flip frequency based on the rib cut and grill type.2. Flipping Too Late: Waiting too long to flip can result in uneven cooking and potentially burnt spots. Be attentive to your grill and flip according to the suggested guidelines for your specific ribs.3. Neglecting Indirect Heat: Not utilizing indirect heat can be a pitfall. If you're only grilling directly over flames, you risk overcooking or burning the ribs. Create two heat zones to balance searing and slow cooking.4. Ignoring Temperature Control:Solutions to Flip-Related Issues:Stick to Flip Guidelines: Follow the flip frequency recommendations provided earlier in the article based on your rib cut and grill type.Use Two-Zone Grilling: Create both direct and indirect heat zones to manage searing and slow cooking.Invest in a Thermometer: A meat thermometer is your best friend for precise temperature control. Use it to determine when your ribs are perfectly cooked.Practice Patience: Grilling ribs is an art that requires patience. Resist the urge to flip too often or too late; your patience will be rewarded with exceptional flavor and tenderness.ConclusionGrilling ribs to perfection involves understanding the significance of flip frequency. Grilling ribs is an enjoyable culinary adventure. Armed with knowledge about the right flip frequency, you can confidently fire up your grill and create mouthwatering, perfectly grilled ribs. Remember, it's not just about the destination; it's about savoring every step of the journey.FAQsIs there a specific flip frequency for achieving the perfect smoky flavor?While flip frequency is crucial for even cooking, achieving the perfect smoky flavor also depends on using wood chips, chunks, or a smoke box. These can enhance smokiness regardless of flip frequency.What's the recommended internal temperature for ribs regardless of flip frequency?The recommended internal temperature for ribs is around 190-203°F (88-95°C) for fall-off-the-bone tenderness, regardless of how often you flip them.Can I experiment with flip frequency to suit my personal taste?Absolutely! Experimenting with flip frequency is part of the grilling journey. You can adjust it to achieve the exact texture and sear you prefer.
As the final embers of a delightful grilling session fade into the twilight, a ritual of equal importance beckons – the proper shutdown of your trusted Traeger grill. Beyond the delectable flavors and aromatic indulgence, the act of bidding adieu to your grill holds paramount significance for safety, maintenance, and the longevity of your prized culinary companion.Just as a chef values precision, your Traeger grill demands a meticulous shutdown to ensure safety. A thorough shutdown extinguishes any lingering flames and minimizes the risk of potential flare-ups, ensuring your cooking area remains hazard-free.Part 1: How to Properly Shut Down Your Traeger GrillStep 1: Turn Off the ControllerYour grill's controller boasts a power button, often adorned with a recognizable icon. It's your gateway to control. Gently press the power button and hold it down. This initiates the shutdown sequence, signaling the controller that it's time to bid adieu. Depending on your Traeger model, ...
Outdoor cooking has become increasingly popular and having the right equipment can greatly enhance the experience. One such essential equipment is a fire magic side burner. In this article, we will explore the benefits of having a fire magic side burner for outdoor cooking and provide an overview of its features and functionalities. We will also discuss how to choose the right side burner, installation and maintenance tips, creative recipes, customer reviews, and conclude with a recommendation for readers.Part 1: What is a Fire Magic Side Burner?A fire magic side burner is a high-quality outdoor cooking appliance that provides an additional cooking surface alongside your grill. It is typically built into an outdoor kitchen setup and offers various features and functionalities to enhance your cooking experience. These side burners are designed to withstand the elements and provide consistent heat for versatile cooking options.Fire magic side burners come in different types and models, i...
Burner hoses and regulators play a crucial role in various applications that involve the use of fuel-powered burners. Whether it's for cooking, heating, or industrial processes, these components ensure the safe and efficient flow of fuel to the burner. In this article, we will explore the importance of burner hoses and regulators, discuss the different types available, delve into the factors to consider when choosing them, highlight the benefits of using high-quality components, and provide guidance on their proper maintenance and care.Part 1: What is a Burner Hose and Regulator?A burner hose is a flexible tube that connects the fuel source, such as a propane tank or natural gas line, to the burner. It is responsible for delivering the fuel to the burner, allowing for a controlled and steady flow. The regulator, on the other hand, is a device that controls the pressure of the fuel as it flows through the hose. It ensures that the fuel is delivered at the correct pressure, which is ...


Comments
Post a Comment